I was originally aiming to make Noel for Smash 2011 but ran out of time to complete her fully, so I fixed her up again and took her to Supanova Sydney 2012 too.
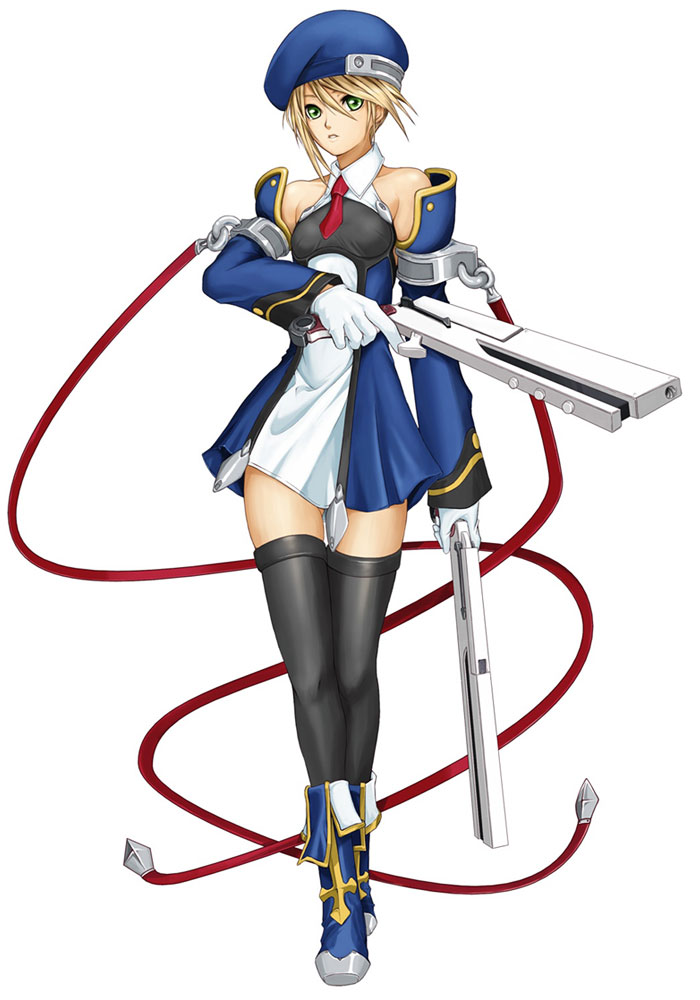
I think Noel appealed to me because her blue and white uniform just looks 👌fantastic, and her somewhat introverted personality is relatable. I’m also sucker for short one-piece dresses, and the skin coverage is surprisingly high for it. The presence of zettai ryouiki and badass gun-kata didn’t hurt either.
Gun-kata? If you’re a fan of martial arts and over-the-top gunplay, I’d highly recommend you watch the movie Equilibrium, which I’m pretty sure was the basis for elements of Noel’s character.
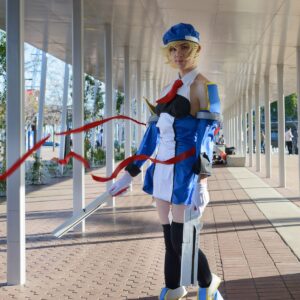

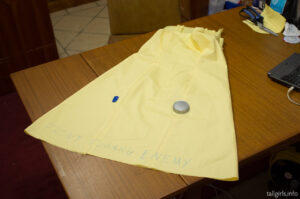
I wish I had more photos, ’cause this is severely lacking…
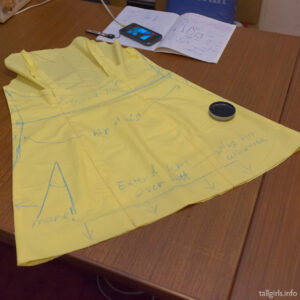
Build notes
I think this was the first time I tried constructing anything even vaguely resembling props and stuff with fiddly details. It was definitely a damn mess, but I learnt a few things and got high on spraypaint fumes, so I guess it was worth it.
I cheated with the hair – she has long hair but it’s normally stuffed under the beret. No one needs that fresh hell though, so I went with short hair.
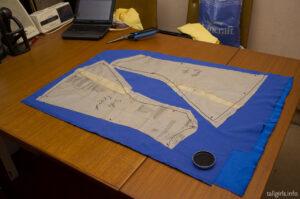
Can’t remember where I got it, but I found the most perfect fabric for the dress; soft and stretchy with enough weight to move nicely, and a beautiful soft sheen on the outside. I picked up 3m each of the blue and white cotton sateen for $8 a metre, I think it was a steal.
The halter neck and collar piece is stolen from an old shirt, because I’m lazy. I mean it was gonna be covered by the necktie anyway so you wouldn’t really be able to tell, and sewing a collar thing is effort.
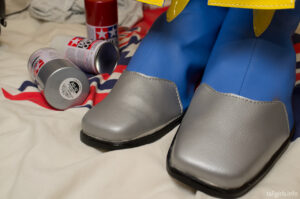
One last thing that I learnt was that obtaining spent brass from a shooting range is more effort than its worth. I called a couple of places in Sydney and they don’t just give it away so I figured it wasn’t worth the hassle. I got some lengths of brass tubing from Hobbyco and sawed it into short lengths to roughly approximate 9mm Parabellum casings, then folded some little bits of brass sheeting over one end so it’d look like the rear. In any photos that matter you probably wouldn’t pick that they’re fake when there’s smoke and blur effects applied.